A fabricator in Delta called me on a Thursday about forty welds that had just failed penetrant testing. Not cracked. Failed because the inspector could not read them. The shop had run the assembly through the blast booth the afternoon before, garnet at 90 psi, thinking they were doing the CWB inspector a favour.
They were not.
Weld cleaning before inspection is one of those steps everybody treats as trivial, right up until the NDT report comes back full of indications nobody can resolve. Then the assembly sits on the floor, the coating crew loses its window, and someone pays to bring a Level II technician back out.
Most shops do not skip the cleaning. They clean too hard, with the wrong tool, at the wrong point in the sequence.
What the inspector is actually reading
Surface NDT does not test the weld. It tests the surface of the weld.
Magnetic particle inspection reads leakage flux where a discontinuity breaks the surface. Liquid penetrant relies on capillary action pulling dye into an opening and back out onto developer. Both methods depend on that opening being open. Anything sitting in it, over it, or smeared across it changes the answer.
CSA W59 and the CWB certification your shop works under set the weld quality. The NDT procedure sets the surface condition, and the wording is consistent across ASME Section V and ASTM E165: free of scale, slag, spatter, flux, oil, grease, paint, and anything else that could mask a discontinuity or produce a false indication.
Read that last clause again. Two failure modes, pointing opposite directions. Something that hides a real crack, and something that invents one where there is no crack. Blast media manages both.
Where the media goes
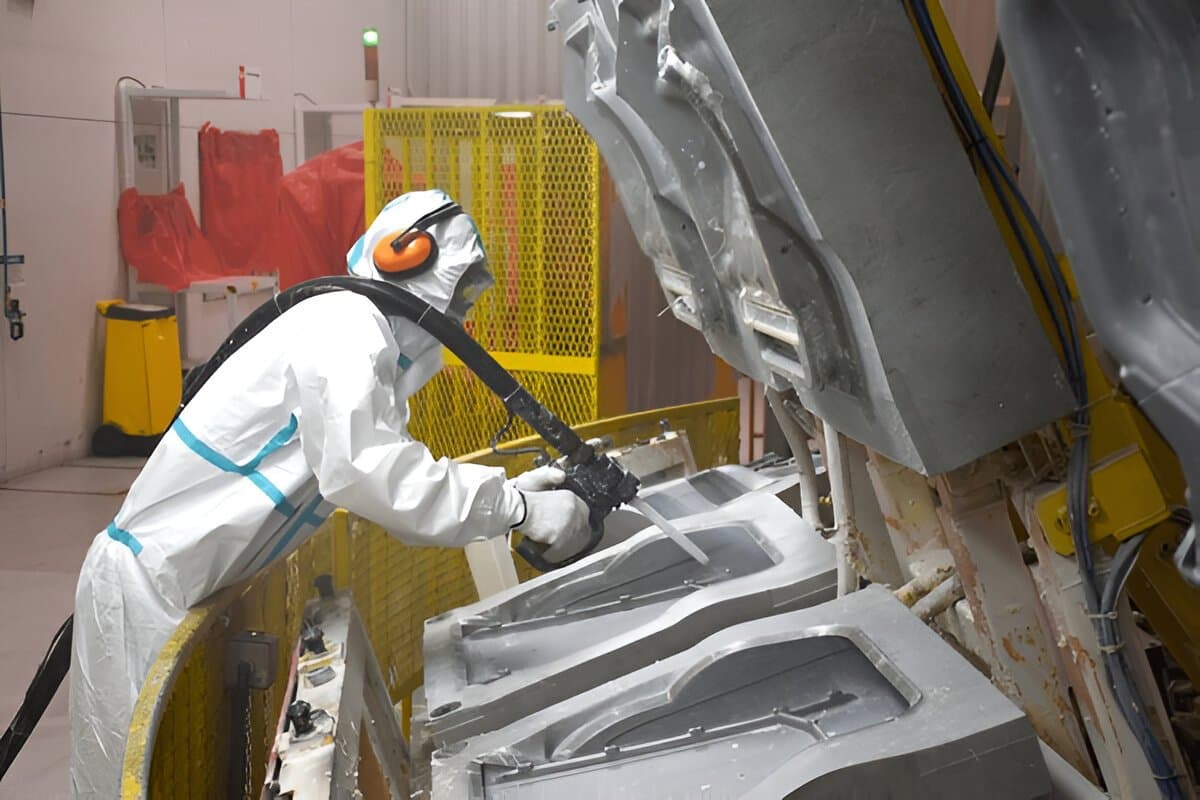
Garnet, aluminum oxide, coal slag, steel grit. Whatever the booth runs, it arrives at 90 to 110 psi and it does not stop cleanly at the surface.
The weld toe is the problem area. That transition between deposited metal and base plate is rarely a smooth radius, especially on fillet welds run flat out on a Friday afternoon. There are undercuts, ripples, small overlap folds. Particles land in those, wedge, and sit through the blow-down.
Then the penetrant goes on. Dye works around the trapped grit, holds there through the dwell, and bleeds out onto the developer as a line. The technician marks it. Nobody on the floor can say whether that line is a lack of fusion or a grain of garnet until somebody grinds it out and tests again.
On a forty-weld assembly, chasing down a dozen questionable indications takes a full day of grinding, re-cleaning, and re-testing. That was the Delta job.
The smear nobody sees
The second failure mode is worse, because it never turns into an argument on the shop floor. It shows up as nothing at all.
Abrasive impact cold-works steel. Metal moves. A tight surface-breaking crack, the kind that actually matters, can get peened partly closed by the same pass that cleaned the plate. Penetrant cannot enter an opening that has been smeared shut, so the test comes back clean.
This is not a fringe worry. It is written into the standards. ASME Section V flags that abrasive blasting may close discontinuities, and calls for etching before penetrant examination where blasting has been used. Ask how many BC shops etch a structural assembly after the booth. In twenty years I have seen it done twice.
So the weld passes, ships, and the crack is still in it.
Grinding and wire wheels trade one problem for another
The usual workaround is mechanical detail work. Flap disc, wire wheel, carbide burr along the toe.
It cleans. It also removes weld reinforcement when the operator gets enthusiastic, changes the profile the inspector is measuring, and lays a directional finish on the steel that can mask fine linear indications under magnetic particle. Wire wheels shed bristle steel of their own. On stainless, a carbon steel wheel drags free iron into the surface, which is a different fight entirely, and one that surfaces months later as rust bloom on a food plant handrail in Richmond.
Solvent wipe is the other habit. It handles oil and cutting fluid. It does nothing for heat tint, mill scale, or the oxide band along the heat-affected zone, and it leaves lint if the rag is wrong.
None of these are bad tools. They are tools that change the geometry or the metallurgy of the thing being inspected, which is the one outcome an NDT procedure is built to avoid.
What laser does differently on a seam
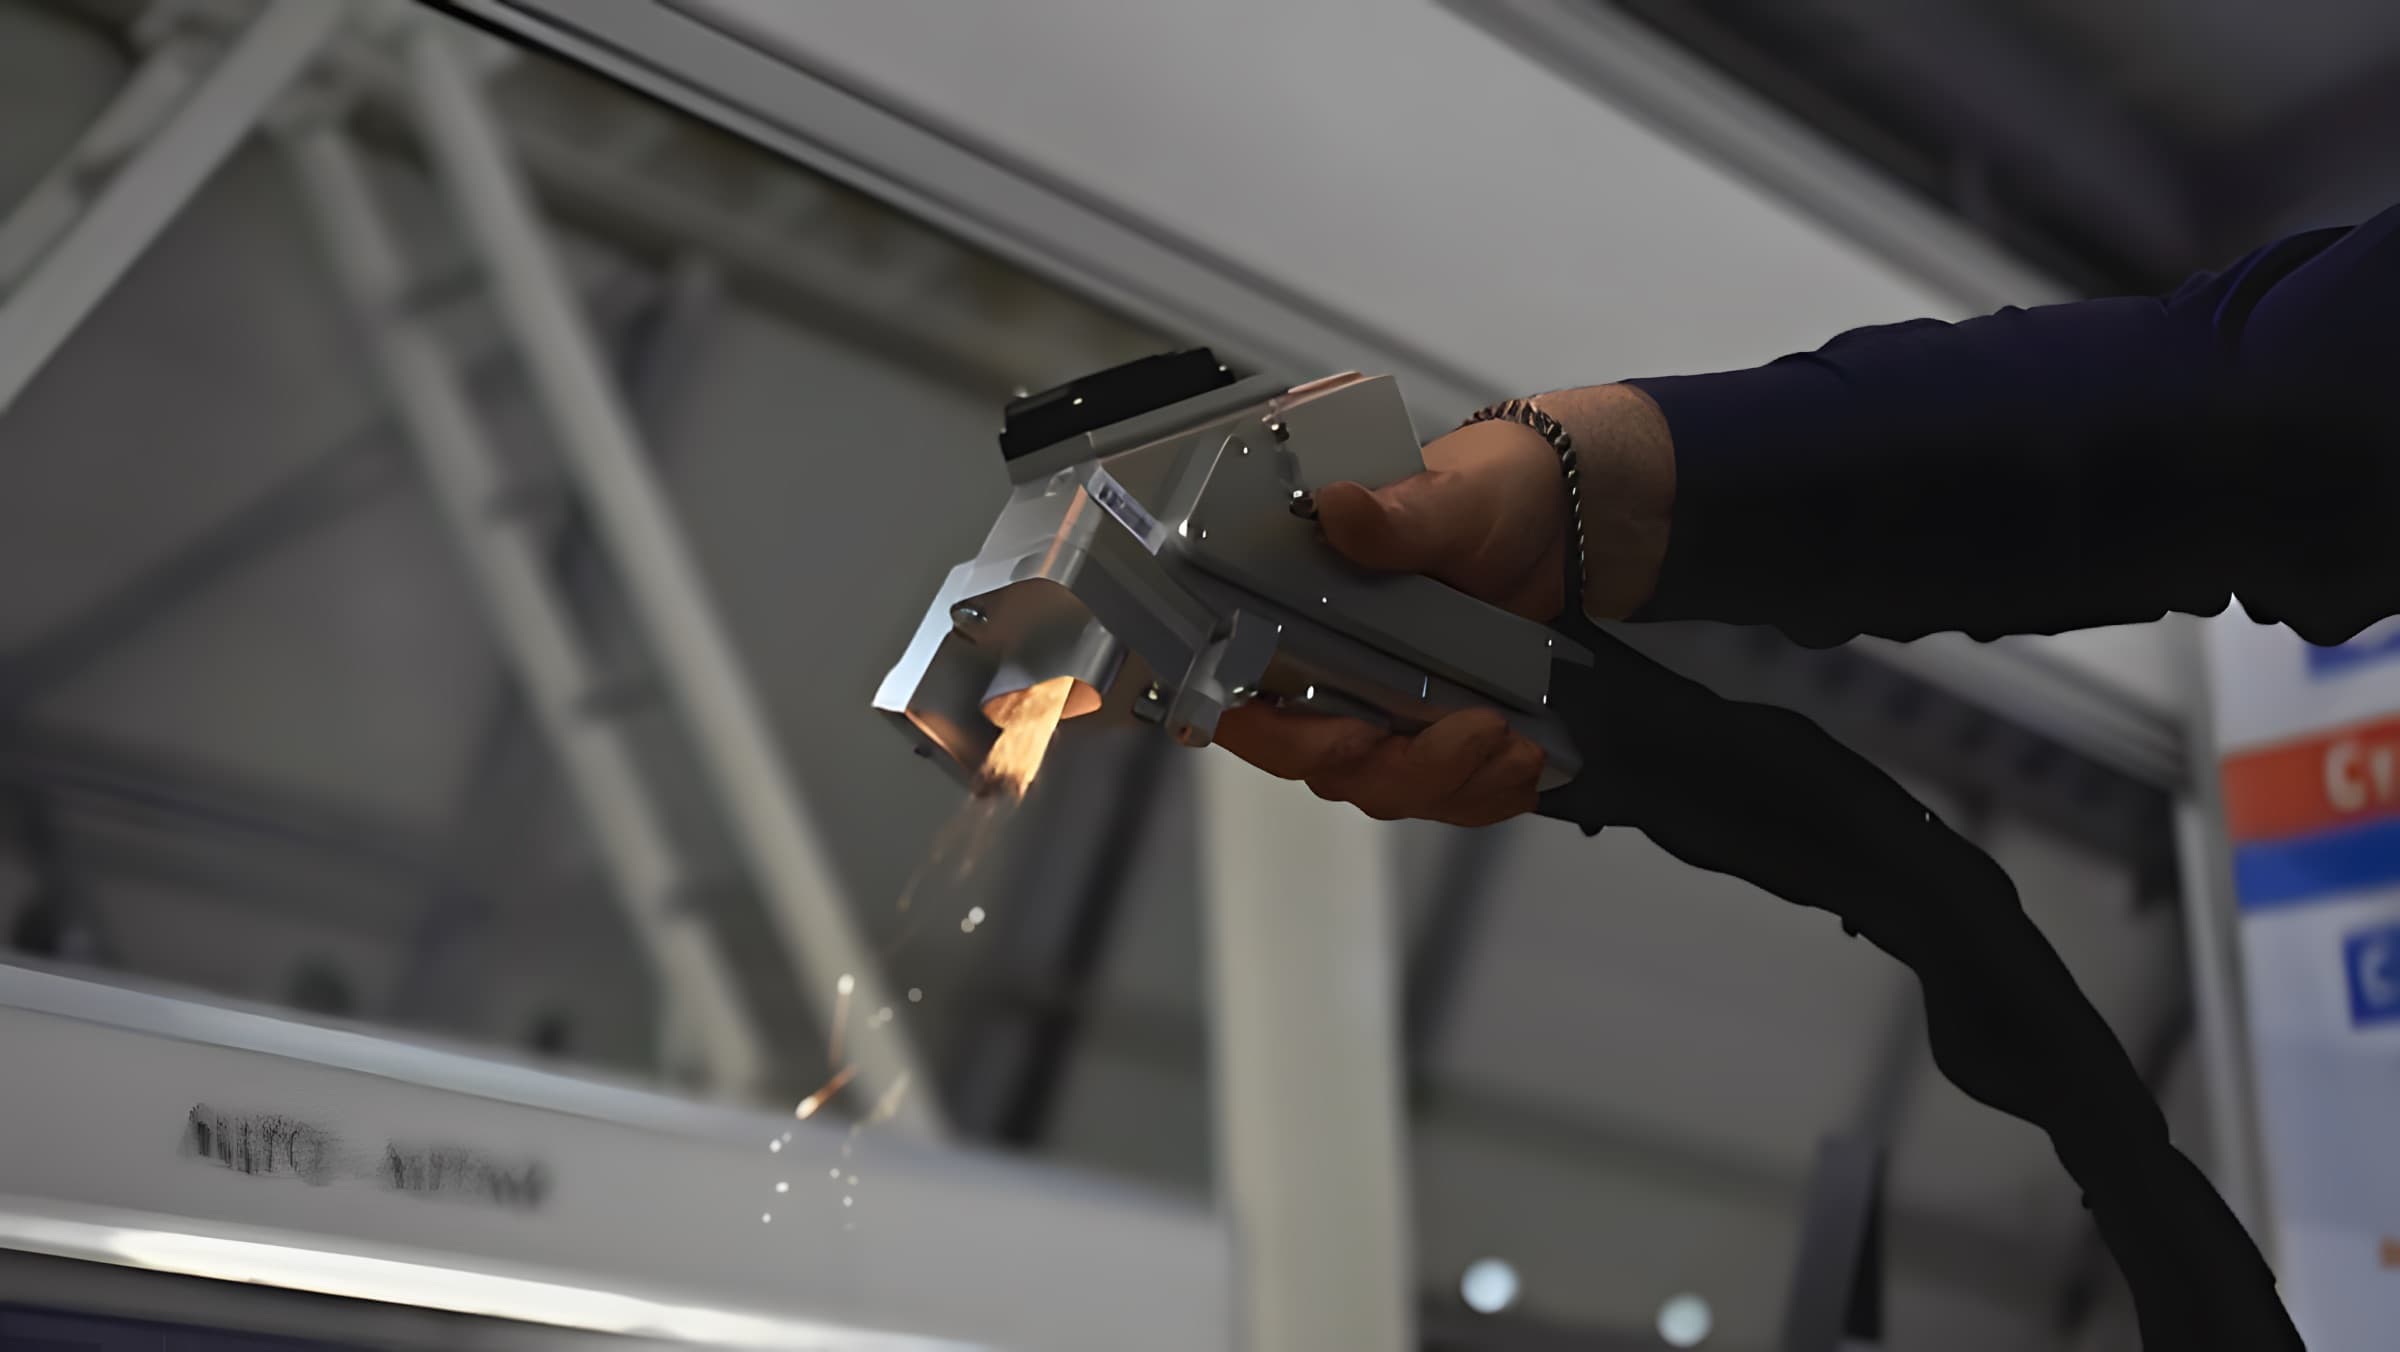
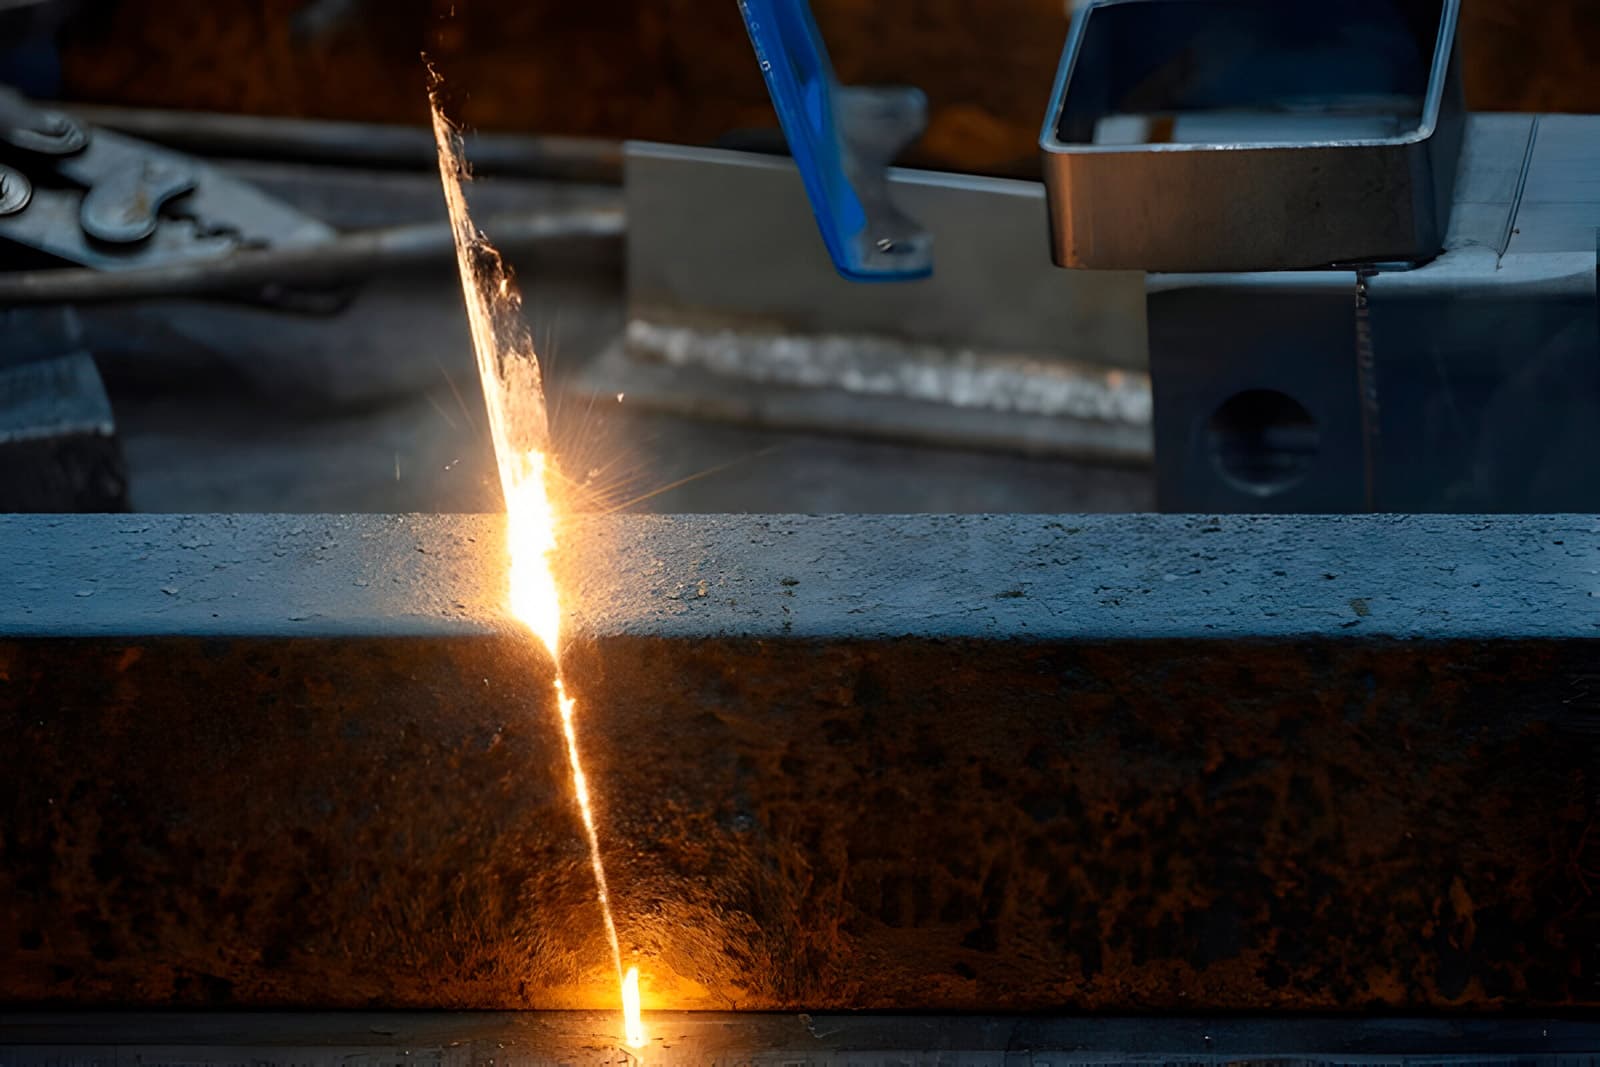
Laser cleaning pulses energy at the oxide layer. Contamination absorbs it, lifts, and leaves as vapour and fine particulate into an extraction hood. Nothing touches the steel. No media, no consumable, no wheel.
Three practical consequences for weld cleaning before inspection.
Nothing is left behind to trap dye. No grit, no slurry, no bristle. The seam handed to the NDT technician has the same geometry it had when the welder put the gun down.
There is no cold work. No peening, no smearing, no chance of closing the opening the test is trying to find.
And the depth is adjustable. Set it to lift heat tint and oxide and stop at bright metal without cutting into the weld profile. On stainless, that same control takes off the straw and blue tint from welding without stripping the passive layer.
We normally clean a 40 to 60 mm band each side of the weld centreline. That covers what MT and PT procedures ask for and gives the technician clean ground to work in. On a sound fillet in reasonable condition, a hand-held unit moves along that band at roughly one to three linear metres a minute. Heavy mill scale or old coating over the seam slows it down, sometimes by half.
Silica, dust, and the shop calendar
The other reason BC weld shops are moving pre-inspection work out of the booth has nothing to do with test validity.
Abrasive blasting here comes with an exposure control plan. Where the media or the substrate carries crystalline silica, the WorkSafeBC eight-hour exposure limit sits at 0.025 mg/m³, low enough that you are into engineering controls, fit-tested respirators, and air monitoring. Even with low-silica media, the dust stops work around the booth.
That is the scheduling cost. A booth cycle on a Burnaby shop floor means the fitters two bays over stand down, the paint side stands down, and the assembly gets moved twice. Laser runs beside other trades behind a curtain with a local extraction unit. No containment build, no strip-out, no spent media to weigh and dispose of.
Fume extraction is still mandatory. Vaporised coating and oxide is not something anyone should breathe, and the filter stage has to match what is coming off the surface. Any crew that shrugs at that question should not be in your shop.
What weld cleaning costs in BC
Numbers from our own quotes across the Lower Mainland, in CAD.
A half-day mobilization for a single skid, a run of nozzle welds, or a repair area on an existing structure runs $1,200 to $2,200. Travel inside Metro Vancouver, setup, extraction, and the cleaning itself.
A full shift, roughly 100 to 250 linear metres of seam depending on access and condition, sits between $2,500 and $4,500.
Two shifts on a larger structural package, or a scope split between shop and site, lands at $5,000 to $8,000.
Now price the alternative. Bringing a Level II technician back for a second visit runs $500 to $1,200 plus travel before anyone touches steel. Grinding and re-testing a dozen indications is a day of shop labour at shop rates. And if the assembly has a shipping date, the number that hurts is the crane or the flat deck that was booked for Monday morning and now sits idle.
The math is rarely close. Clean once, properly, and the inspection becomes a two-hour formality.
Where laser is the wrong call
It will not remove weld spatter. Spatter is fused metal, and metal needs a chisel or a grinder. Same for proud slag on a heavy flux-core pass. Knock that off first, then clean.
It will not fix a profile problem. If the toe angle is wrong, or undercut runs past the acceptance criteria, that is a welding repair and no cleaning method substitutes for it.
Thick aged industrial coating over a seam is slow going. Sometimes the honest answer is to strip the coating another way and put laser only on the band that gets inspected.
And where the spec calls for a blast profile before coating, you will still blast. The sequence we recommend is clean, inspect, then blast for profile afterwards, which is the reverse of what most shops do out of habit. The profile side of that argument is covered in our piece on laser surface treatment before coating.
Who does the work
Laser Sharks runs laser and dry ice cleaning across Greater Vancouver and the rest of BC, with 20 years of industrial cleaning behind the crew. We work to WorkSafeBC requirements, carry full liability coverage and WCB clearance, and hand your safety officer the exposure control documentation before we plug anything in. CBRB named us Best Cleaning Services in BC for 2025.
We are not the NDT house and we do not sign off on welds. We hand the technician a surface that can be read.
Getting the sequence right
Book the cleaning to land after the last weld pass and before the inspector arrives, not the other way around. Same day is fine. Most shop scopes in Burnaby, Delta, Port Coquitlam, or over on Annacis Island are a half-day in and out, and we run night shifts when the floor is tight during production hours.
Send photos of the seams, the material, and the NDT method called out on the drawing through our quote page, or call and describe the assembly. On a first job together we will clean a test section at no charge inside the Lower Mainland, and let your own inspector tell you whether the surface reads the way it should.